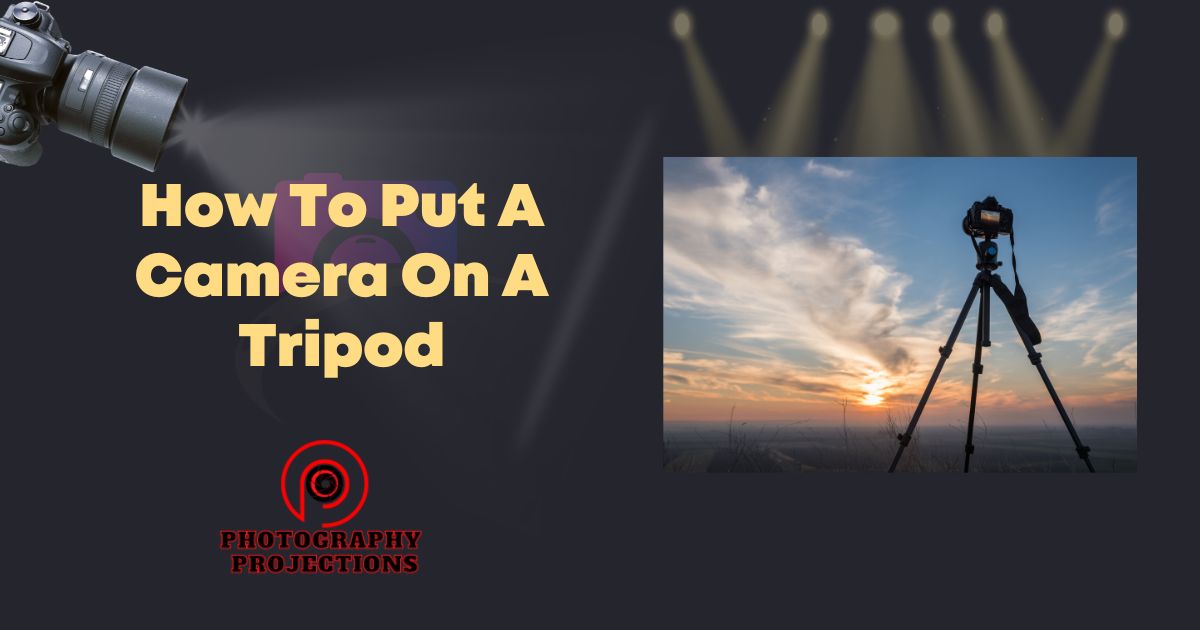
To attach a camera on a tripod, screw the tripod plate onto the bottom of the camera and attach it to the tripod head. Tripods provide stability and can enhance the quality of your photographs, particularly in low light situations.
Tripods are also helpful in situations where you need to keep the camera still for extended periods. There are different types of tripods available with varying levels of stability, size, and weight.
It is important to choose the right tripod based on the requirements of your shoot. The process of putting a camera on a tripod is easy and straightforward, and with practice, it can become second nature.
In this article, we will take a closer look at how to put a camera on a tripod in a few simple steps.
How To Put A Camera On A Tripod: 5-Steps Process

Step 1. Required Tools
Putting a camera on a tripod is a fundamental skill for photography enthusiasts and professionals alike. However, knowing what tools you need to achieve a level of stability and security while shooting is just as important.
A Tripod
A tripod is the foundation of stability for any camera setup. When selecting a tripod, make sure it can support the weight of your camera and the lenses you use, and consider the height and weight of the tripod itself.
It should be sturdy, durable, and easy to adjust. Most importantly, it should be compatible with the camera plate that will securely connect your camera to the tripod head.
Camera Plate
A camera plate is a small metal or plastic component that attaches to the bottom of your camera. It allows the camera to be securely mounted onto the tripod head with a locking mechanism.
Before purchasing a camera plate, make sure it is compatible with both your camera and the tripod head.
It’s essential to ensure the plate fits well, so it doesn’t move or rotate when mounted on the tripod head.
Camera Lock Knob
The camera lock knob secures the camera plate to the tripod head and ensures your camera stays locked in position. It is usually located on the side or bottom of the tripod head.
Before fastening the lock knob, make sure the camera plate is in the correct position and level on the tripod head.
Ensure the lock knob is appropriately tightened to prevent your camera from shifting or falling during shooting.
Weight Hook
A weight hook is a small hook attached to the bottom of the center column of some tripods. It’s an ideal feature for photographers who work in windy locations or need to hang a heavy object from their tripod to improve stability.
Be sure to check if your tripod has this feature when purchasing so that you can hang your camera bag or other weight when using your tripod.
Spirit Level
A spirit level is a tool that shows whether your camera is level or not. Without a spirit level, you may struggle to get a stable and straight shot. Many tripods come with a built-in spirit level in their design.
If your tripod doesn’t have it, you can buy a separate accessory and attach it to the tripod for future use.
So there you have it – a list of essential tools and items required to put a camera on a tripod securely. With these tools and items at hand, you can ensure that you can take stunning and stable shots every single time.
Step 2. Choosing The Right Tripod
A tripod is a crucial piece of equipment for any photographer or videographer to have. It provides stability, ensuring that your shots are sharp and clear.
When choosing a tripod, there are various factors to consider to ensure that it fits your specific needs.
Different Types Of Tripods
There are three main types of tripods in the market. Understanding their differences can help you choose one that suits your needs.
- Full-sized tripods: These are the most commonly used tripods. They are ideal for studio and outdoor photography as they provide plenty of stability. They usually come with adjustable legs and heights up to five feet or more.
- Tabletop tripods: These are small and portable tripods, suitable for light cameras and smartphones. They work best for tabletop photography, time-lapse, and low-angle shots.
- Travel tripods: These are compact and lightweight tripods, perfect for photographers on the move. They usually come with adjustable legs and height that can extend to about 60 inches.
Factors To Consider
When selecting a tripod for your camera, you need to ensure that it is compatible with your camera and lens. Here are some essential factors to consider:
- Maximum weight capacity: Ensure that the weight rating of the tripod can support your camera, lenses, and other accessories. It’s always good to select a tripod with a higher weight rating so that you don’t have to worry about it toppling over.
- Height and adjustability: The tripod you select should be able to support your camera at the ideal viewing height. It should also have adjustable legs and heights so that you can easily adjust the shooting angle and position.
- Sturdiness and stability: Look for a tripod with strong and sturdy legs and center columns. They should withstand strong winds and keep your camera stable during a shoot.
- Portability and weight: A lightweight and compact tripod is easy to carry around, especially if you are traveling to different locations. Additionally, it should be easy to set up and take down.
Choosing the right tripod can make a tremendous difference in your photography and videography. With this guide, you should be able to select the appropriate tripod that fits your needs and equipment.
Step 3. Attaching The Camera Plate
Step-By-Step Guide
Attaching the camera plate to your camera’s bottom is a crucial step when mounting the camera on the tripod.
- First, make sure that your camera is turned off.
- Locate the screw hole found at the bottom of the camera. It’s usually beside the battery compartment.
- Take the camera plate and line up the screw hole of the plate with the camera’s screw hole.
- Insert the screw into the hole and tighten it with the screwdriver.
- Use your hand to firmly secure the plate by twisting it clockwise.
Tightening The Screw Properly To Prevent Wobbling Or Rotation
When attaching the camera plate, the screw should be tightened firmly to prevent any wobbling or rotation. If the screw is loose, the camera can move or shake while taking photos, causing blurred images.
- Use the screwdriver to tighten the screw until it feels secure. Try not to overtighten it, or you may risk damaging the camera’s screw hole.
- After tightening the screw, check for any wobbling or rotation by gently shaking the camera. If the camera moves, tighten the screw further until it stops moving.
- Always double-check the screw’s tightness before using the camera on the tripod to ensure that it’s securely attached.
Aligning The Plate With Your Camera’s Lens And Center Of Gravity
Aligning the camera plate with your camera’s lens and center of gravity is crucial for maintaining stability. Here are some practical tips to help you achieve this:
- Firstly, position the plate at the bottom of the camera, so the lens is in the center of the plate.
- Make sure that the camera’s center of gravity lines up with the tripod’s center column. This will help distribute the weight evenly and reduce any strain on the tripod.
- For larger cameras, you may need to adjust the plate’s position by sliding it forward or backward to achieve the perfect balance.
- Use a spirit level or an in-camera level to ensure that the camera is horizontally level when aligned with the plate.
Step 4. Mounting The Camera
Mounting the camera onto the tripod head is an essential part of photography, and doing it correctly can make all the difference between a crisp, clear shot and a blurred mess.
To mount your camera onto the tripod head, follow these simple steps:
- Locate the mounting plate on the bottom of your camera.
- Set the plate onto the tripod head and make sure it is level.
- Tighten the mounting screw to secure the plate to the tripod head.
- Attach the camera to the plate.
- Position the camera as desired and tighten the lock knob firmly to keep it stable.
Optimal Stability And Balance
To achieve optimal stability and balance when using a tripod, it’s crucial to adjust the tripod legs and center column correctly. Follow these tips to ensure your tripod is stable:
- Use the shortest possible center column extension for maximum stability.
- Set the tripod legs wide apart and low to the ground for added support.
- When shooting on uneven surfaces, adjust each leg’s length independently.
- Always make sure all the legs are locked and secure.
Use A Weight Hook
Using a weight hook on your tripod can provide extra support and resistance against wind.
- Locate the weight hook under the center column.
- Screw in the weight hook securely onto the center column.
- Place a weight, such as a camera bag or sandbag, onto the hook to increase the tripod’s stability.
- The weight should not exceed the recommended weight limit specified by the manufacturer.
Mounting your camera onto a tripod correctly can make a significant impact on the quality of your photographs.
By following the best practices for adjusting the tripod legs and center column and using a weight hook, you can achieve optimal stability and balance, resulting in clear, crisp shots every time.
Step 5. Leveling The Camera
For attaching your camera to a tripod, ensuring that your camera is level is crucial for getting the perfect shot. But, how can we determine if the camera is level? That’s where the spirit level comes in.
A spirit level is a tool that helps you to determine if an object is a level or plumb. It operates with a fluid-filled tube with a bubble in it, that moves in response to gravity.
The goal is to position the bubble in the middle of the tube, which indicates that the object is level.
When attaching your camera to a tripod, a spirit level can indicate if the camera is perfectly aligned on the tripod and if the camera is level.
Built-In Level In Your Camera
Several cameras and tripods come with a built-in spirit level to guarantee that your camera is level. These levels are typically situated in a visible position on both the tripod head and the camera.
They could be found on the side of your camera or within the camera’s viewfinder, as well as on the tripod head.
However, if your camera doesn’t have a built-in spirit level or if the spirit level on your tripod is too small to see, you can use an external spirit level to get the same job done.
Step-By-Step Instructions
Here is a step-by-step guide to adjusting your tripod legs and center column for perfect alignment and levelness:
- Choose a flat, even ground for your tripod. Extend the legs of the tripod to your desired height, making sure that it’s stable.
- Loosen the tripod’s center column to move it up or down. Make sure the camera’s bubble level is centered.
- Adjust the tripod’s legs and center column by slowly moving them until the bubble stands still in the middle.
- Tighten your tripod’s leg locks slowly. Avoid overtightening, as it may move your tripod off balance.
- Attach your camera to the head of the tripod, ensuring that it’s securely fastened. Check the level of the camera by examining the spirit level again.
- If the camera is not level, adjust the tripod’s legs and center column again to ensure that it is.
- You’re now ready to take the perfect shot!
By following these easy steps, you can level your camera securely on your tripod.
FAQs On How To Put A Camera On A Tripod
How Do I Choose A Tripod For My Camera?
Choose a tripod that can support the weight of your camera. Look for features such as adjustable legs, height, and head. Consider the material of the tripod and the price range.
How High Should A Tripod Be For Photography?
The height of the tripod depends on your photography needs. For a comfortable shooting experience, look for a tripod that extends to your eye level.
You can adjust the height of the tripod legs and center column according to your needs.
How Do I Attach A Camera To A Tripod?
Most tripods have a quick-release plate that attaches to the camera’s bottom. Attach the plate to the camera’s tripod socket and tighten it securely.
Then slide it onto the tripod head and lock it in place.
How Do I Level My Camera On A Tripod?
Use the built-in bubble level or an external level to check if the tripod is level. Adjust the tripod legs and center column accordingly.
Use the pan and tilt controls on the tripod head to level the camera and adjust the composition.
Does A Tripod Help In Low Light Photography?
Yes, a tripod can assist in low light photography by providing a stable base and allowing for slower shutter speeds.
This is because using a slower shutter speed without a support will cause the image to be blurred due to camera shake.
Conclusion
Now, you know how to properly put a camera on a tripod. By following these simple steps, you can easily take shake-free and stable shots, ensuring that all your photos and videos come out perfectly.
Remember to take care of your equipment and use the right accessories to make the most out of your tripod.
Also, it’s worth mentioning that with a tripod, you can explore different angles and perspectives that you wouldn’t be able to achieve otherwise. Investing in a durable, high-quality tripod can make all the difference in your photography.
So, whether you’re a professional photographer or a beginner, using a tripod will help you improve your craft and capture unforgettable moments with ease.